
The 7 Shots Every Product Video Needs
A practical coverage plan for showing context, form, detail, interaction, use, transformation, and a memorable ending.
In this article
The short answer
A useful product video answers seven visual questions: Where does this belong? What does it look like? What matters up close? How is it used? How does it fit into life? What result does it create? What image should the viewer remember?
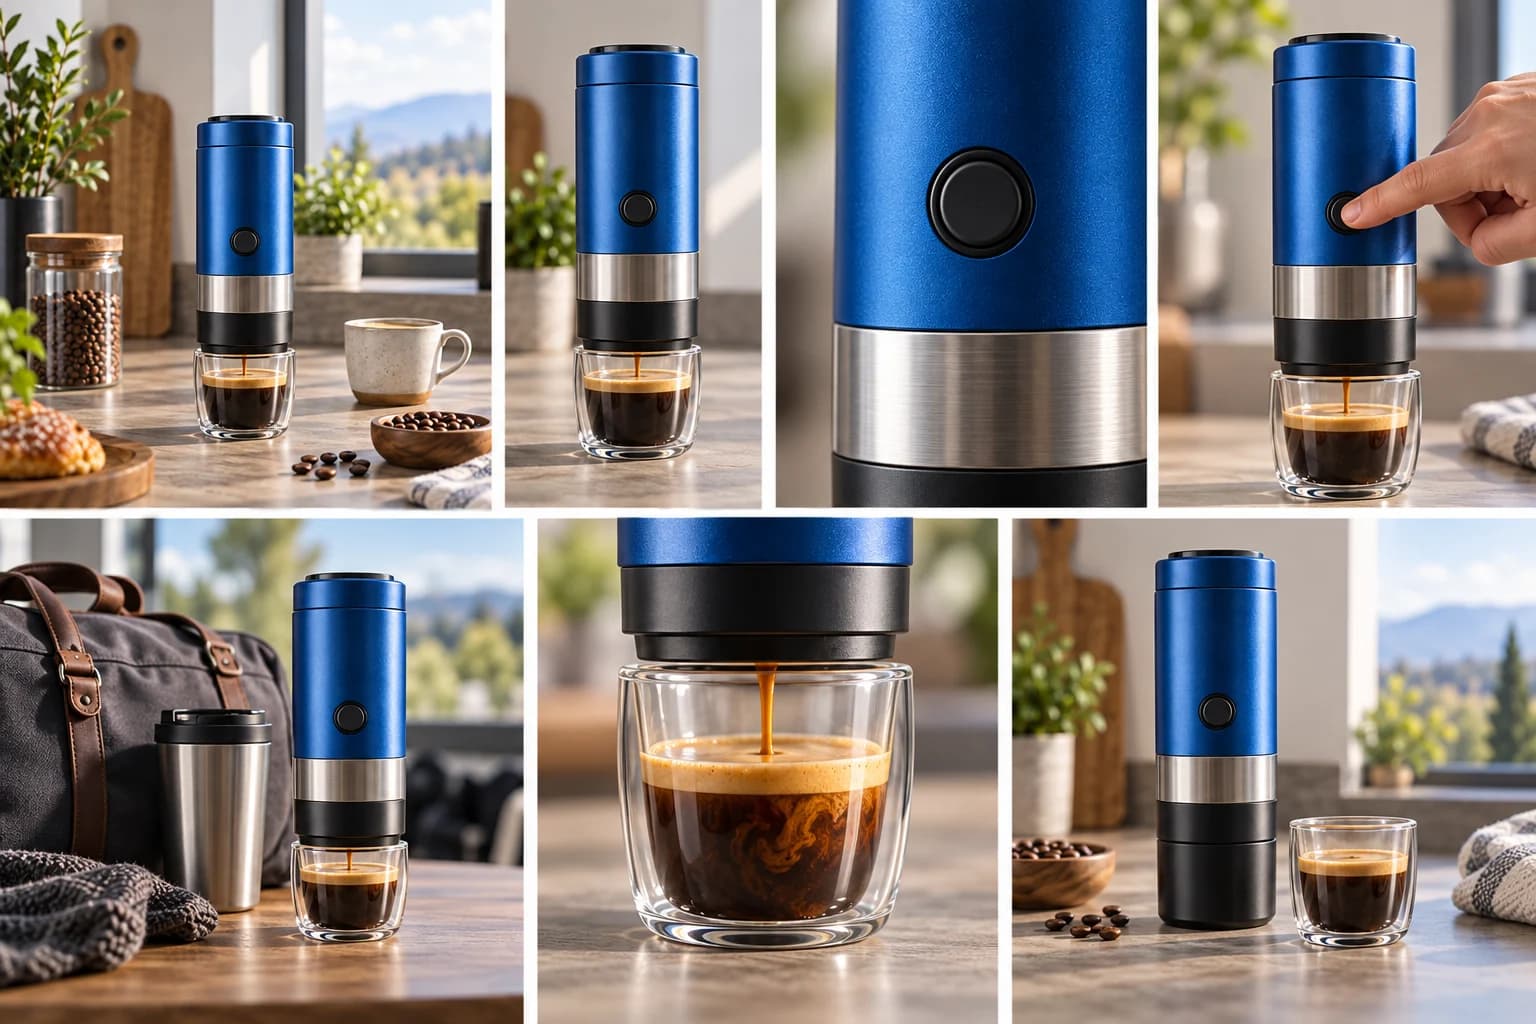
Those questions map neatly to seven shots: establishing, hero, detail, interaction, context, transformation, and closing. You may not use every shot in the final edit, but generating this coverage gives the editor real choices. Without coverage, every cut is forced to reuse the same angle.
The practical rule
Why a shot list matters even more with AI video
Traditional crews plan coverage because editing needs options. AI generation adds another reason: every extra instruction competes for attention. A simple shot with one subject action and one camera movement is easier to evaluate and easier to regenerate than a miniature commercial squeezed into one prompt.
A shot list also separates expensive decisions from cheap ones. Product color, geometry, and the visual style should be approved before multiple clips are generated. Cut order, typography, music, and exact timing can be changed later without rebuilding every frame.
Film coverage often starts with wide, medium, and close views. The wide tells us where we are, the medium lets us read the subject, and the close view tells us what matters. The seven-shot plan applies that basic grammar to a product story, then adds use, context, benefit, and a deliberate ending.
The seven-shot product plan
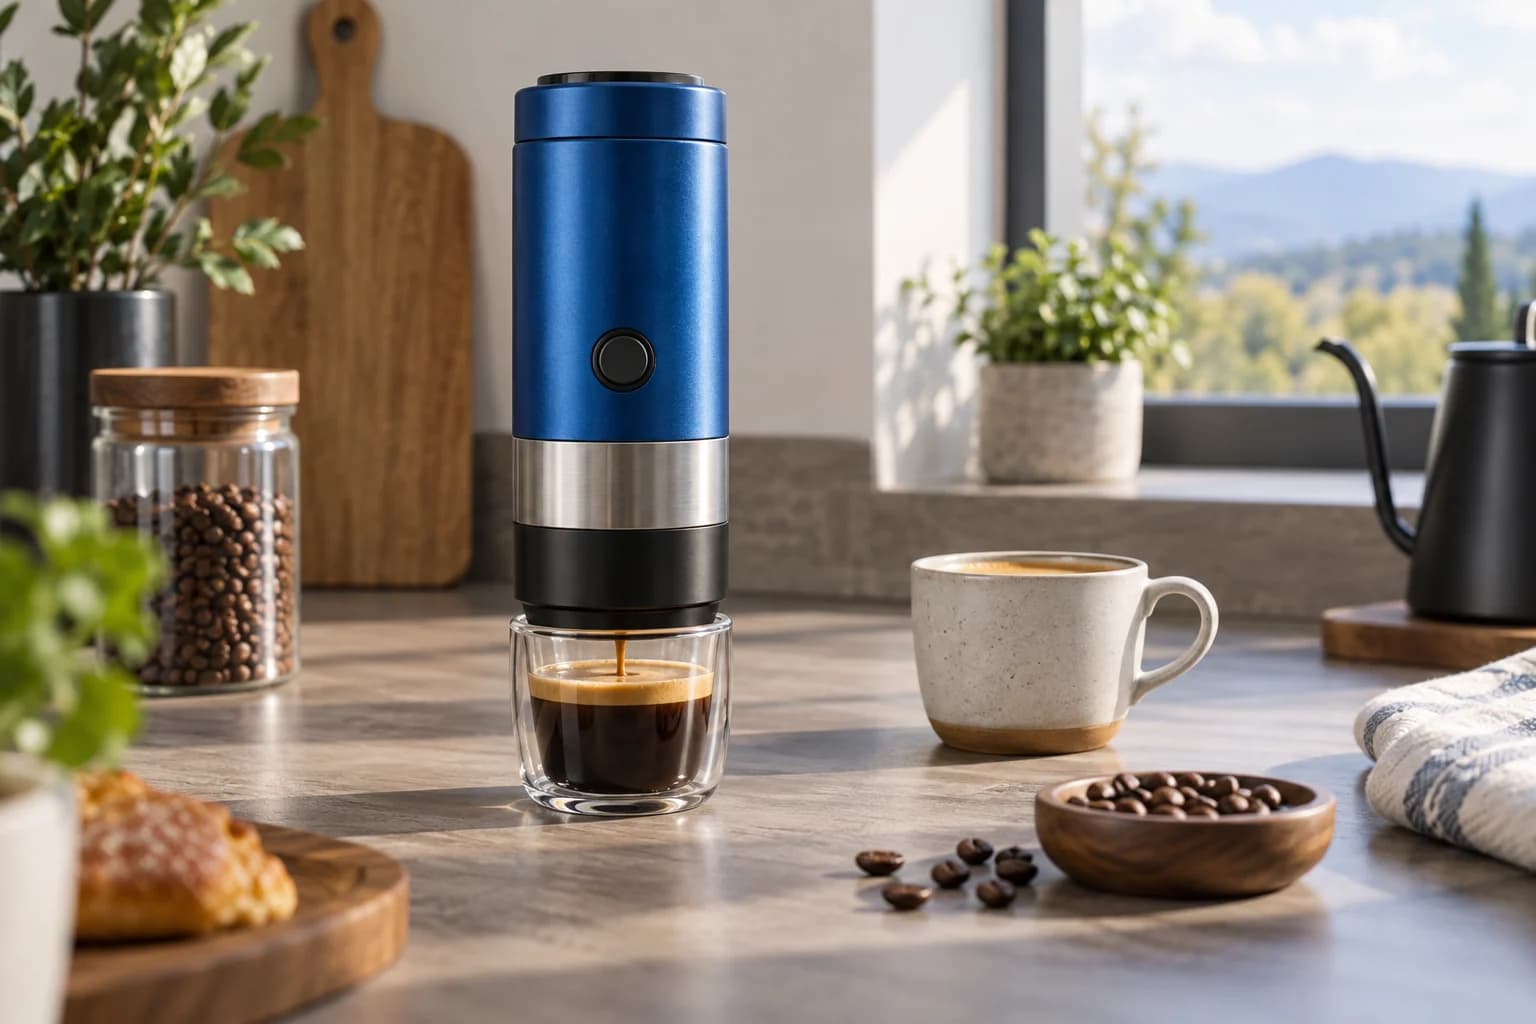
Establishing shot
Show where the product belongs.
Frame: Wide enough to read the environment without making the product hard to find.
Example prompt: Wide kitchen counter scene. The cobalt espresso maker is clearly visible beside a cup. Locked camera, subtle morning activity.
Hero shot
Make the product recognizable and desirable.
Frame: A clean three-quarter view with enough separation to read the silhouette and materials.
Example prompt: Three-quarter hero shot of the espresso maker. Slow 20-degree orbit, stable geometry, controlled studio daylight.
Detail shot
Prove material, finish, or a feature.
Frame: Tight framing on one specific detail. Do not ask the viewer to inspect five features at once.
Example prompt: Macro close-up of the round button and brushed-steel band. Small highlight moves across the metal. Camera remains steady.
Interaction shot
Show how a person uses it.
Frame: Hands and controls must remain visible. Keep the action short and mechanically simple.
Example prompt: An adult hand presses the single round button once. Coffee begins dispensing. Product shape and button position remain fixed.
Context shot
Connect the product to a real situation.
Frame: Place it beside objects that explain scale or use, without turning the frame into a prop collection.
Example prompt: The espresso maker stands beside a travel bag and reusable cup, ready for a morning trip. Gentle lateral camera slide.
Transformation shot
Make the benefit visible.
Frame: Show a clear before-and-after state, process, or result within one understandable action.
Example prompt: Close shot as fresh espresso fills the transparent cup and crema forms. Product remains still. Focus shifts to the finished drink.
Closing shot
Leave one simple image in memory.
Frame: Return to a clean composition with room for deterministic text or a call to action.
Example prompt: Clean final pack shot of the espresso maker and finished cup. Locked camera, calm background, clear negative space on the right.
The order above is a planning order, not a compulsory edit. A fast advertisement might open with the result, cut back to the interaction, then finish on the hero. The important part is that each clip has a clear reason to exist.
Build a sequence, not seven unrelated clips
Coverage only works when the shots still feel like one product and one campaign. Lock a compact visual bible before generation: product reference, exact colors, materials, lighting direction, environment, aspect ratio, and any traits that must not change.
| Keep stable | Change deliberately | Add in the edit |
|---|---|---|
| Shape, color, controls | Shot size and angle | Logo and legal copy |
| Key materials and proportions | One subject action | Price and call to action |
| Lighting family and grade | One camera movement | Music, mix, and timing |
The visual reference should do more work than repeated adjectives. A clean approved image gives the model specific geometry and color. The prompt can then concentrate on motion and the purpose of the current shot.
Prompt one shot at a time
A useful shot prompt states the frame, subject, single action, camera movement, and locked traits. Put the visible event before mood words. If the shot must end in a particular composition, say so explicitly.
Frame: medium three-quarter product shot
Subject: cobalt portable espresso maker, exact reference geometry
Action: one adult hand presses the round button once; espresso begins flowing
Camera: slow five-percent dolly in; stable speed; no orbit or reframing
Lock: product color, button count, steel band, cup position, daylight exposure
End frame: product centered, espresso stream visible, hand leaving the frame
The lock line is not a guarantee. It makes the intended constraints reviewable. If a result adds a second button or bends the cup, you can identify the failure instead of accepting it because the clip feels polished.
Common mistakes that weaken the sequence
- Seven hero shots: repeated beauty angles create mood but explain little.
- Too many simultaneous actions: opening, pouring, walking, speaking, and orbiting belong in separate clips.
- No clean reference: every shot is forced to reinvent the product.
- Text baked into moving pixels: exact claims and prices become difficult to revise and easy to distort.
- No ending: the final frame is visually busy, leaving nowhere for the message to land.
- Judging only the best frame: a beautiful thumbnail can hide broken geometry during motion.
A compact production checklist
- Approve one product reference and one visual direction.
- Write the job of every shot in a single sentence.
- Assign one subject action and, at most, one camera move to each generation.
- Generate the hero first, then use approved frames to anchor nearby shots.
- Check the first frame, middle frames, and last frame for geometry and continuity.
- Edit for rhythm before adding final typography, logo, music, and sound effects.
- Watch the exported video once without pausing. The story should still read immediately.
To turn the plan into a structured campaign, start with Movey Director. For a single anchored shot, use the image-to-video workflow.
Frequently asked questions
Does every product video literally need all seven shots?
No. Seven is a useful coverage plan, not a law. A six-second social clip may use only a hero, interaction, and closing shot. A product page video may need all seven because it has time to explain context, operation, and proof.
How long should each AI-generated shot be?
Generate enough time for one readable action, then trim in the edit. Three to five usable seconds is often enough for a product insert. Complex actions are safer when divided into separate shots instead of compressed into one generation.
Should text and prices be generated inside the video?
Usually not. Generate the visual plate first, then add exact copy, prices, logos, and legal text with normal editing tools. This keeps typography sharp and makes revisions inexpensive.
Which shot should I generate first?
Start with the hero shot. It establishes the approved product shape, color, lighting, and visual language. That frame can then serve as a reference for the surrounding detail and interaction shots.
Sources
Production references used for the coverage and shot-planning guidance in this article.
- Adobe guide to sequence shots explains why wide, medium, and close coverage gives an editor a clear visual sequence.
- Adobe guide to shot lists outlines the practical information a shot list should capture before production.
- Adobe guide to shot sizes and camera angles summarizes how framing and angle change what viewers notice and feel.
Keep reading
Related articles
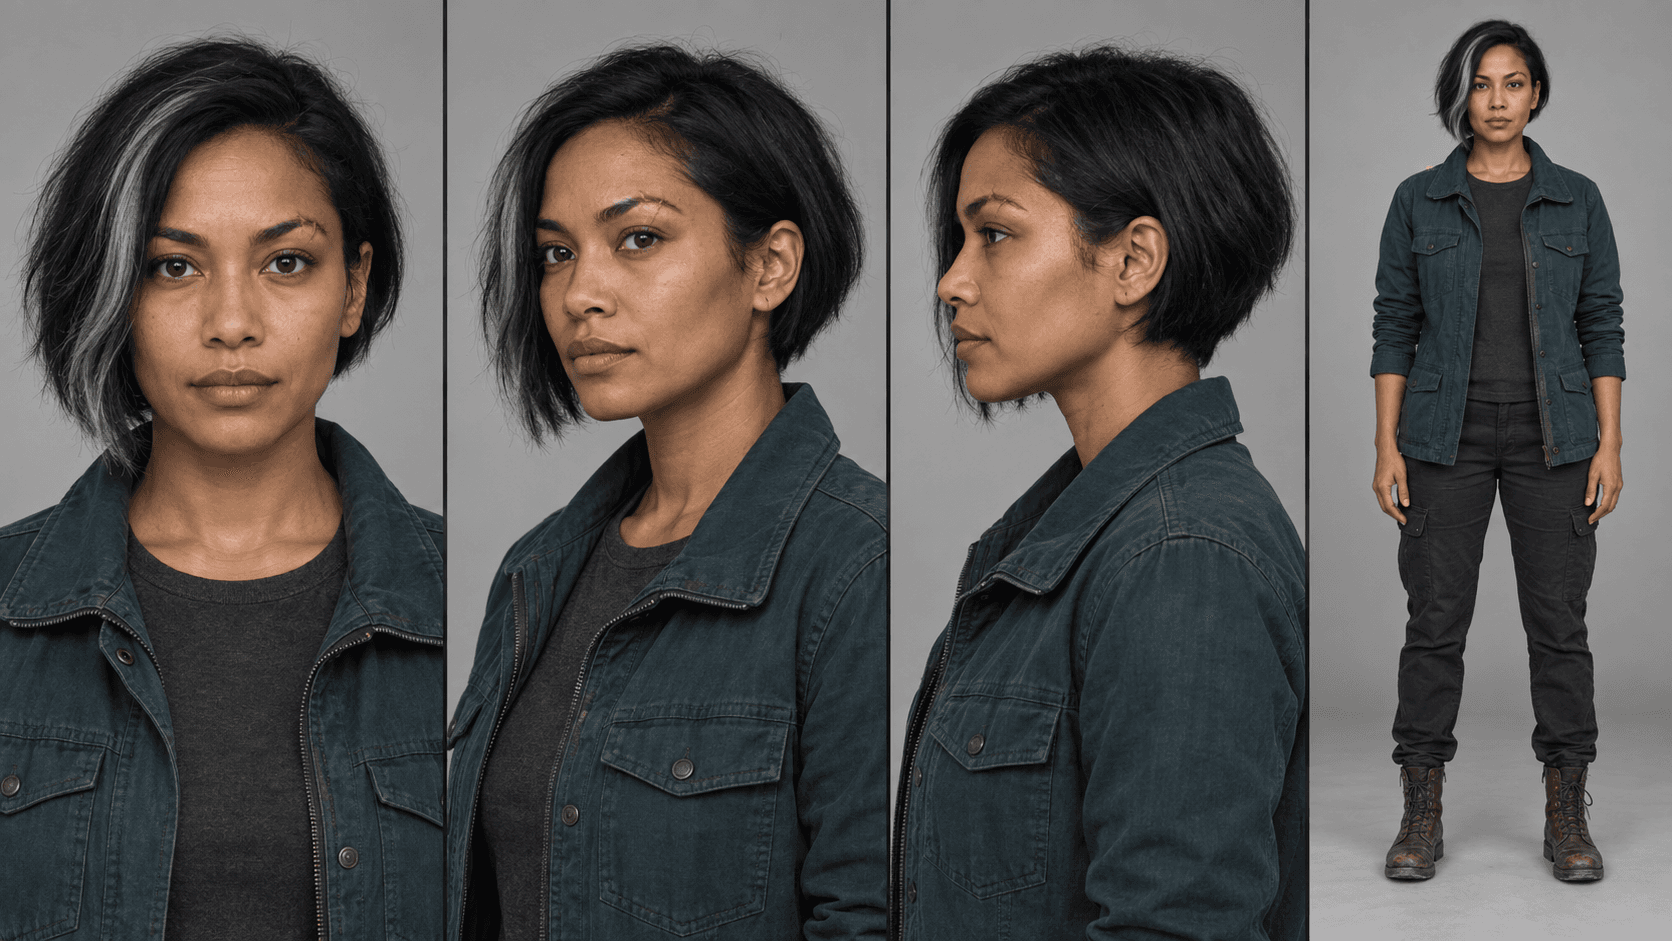
MiniMax H3 Reference Workflows: Character Sheets in Practice
Build MiniMax H3 reference-to-video workflows with concatenated character sheets, composition frames, numbered prompt tags, controlled examples, and practical failure checks.
Camera Movement in AI Video: Pan, Dolly, Orbit, or Zoom?
Compare pan, dolly, orbit, and zoom with an interactive scene diagram, practical prompts, failure modes, and production guidance.